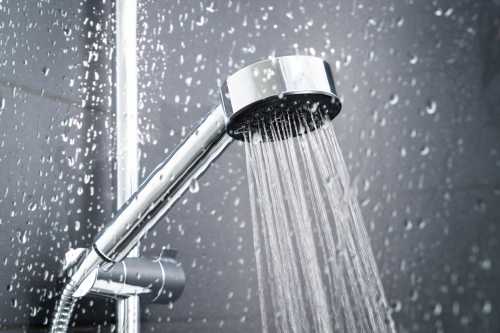
A leaking shower head can be an annoying and wasteful problem. Not only does it cause water to drip constantly, but it can also lead to higher water bills and potential water damage if left unresolved. Fortunately, fixing a leaking shower head is a task that you can easily tackle on your own, even if you have limited plumbing experience. In this guide, we will walk you through the step-by-step process of fixing a leaking shower head, ensuring that you can enjoy a fully functional and drip-free shower. Let’s dive in!
1. Gather Your Tools and Materials
Before you begin fixing your leaking shower head, it’s important to gather all the necessary tools and materials. Here’s a checklist of what you’ll need:
- Adjustable wrench
- Pliers
- Pipe thread tape (Teflon tape)
- Replacement parts (if necessary)
2. Turn Off the Water Supply
To avoid any potential mess or accidents, the first step is to turn off the water supply to the shower. Look for the water shut-off valve near your shower or, if you can’t find one, turn off the main water supply to your house.
3. Disassemble the Shower Head
Once the water supply is turned off, it’s time to disassemble the shower head. Follow these steps:
Step 1: Remove the Shower Head
Use an adjustable wrench to loosen and remove the shower head from the shower arm. Twist it counterclockwise until it comes off.
Step 2: Inspect the Components
Examine the shower head and its components for any signs of damage or buildup. Common issues include worn-out washers, clogged nozzles, or cracked parts.
Step 3: Clean the Components
If there is any buildup or debris on the shower head or its parts, clean them thoroughly with a mixture of warm water and vinegar. This will help remove any mineral deposits or grime that could be contributing to the leak.
4. Replace Faulty Parts
If you’ve identified any damaged or worn-out parts during the inspection, it’s essential to replace them to fix the leak. Here’s how:
Step 1: Replace the Washer
If the washer inside the shower head is worn or damaged, remove it using pliers and replace it with a new one. Make sure the washer is the correct size and compatible with your shower head.
Step 2: Check the O-Rings
Inspect the O-rings on the shower head for any cracks or wear. If they are damaged, remove them and replace them with new ones. Apply a small amount of plumber’s grease to the new O-rings before installing them.
Step 3: Install the Shower Head
Once you’ve replaced any faulty parts, it’s time to reassemble and install the shower head. Wrap pipe thread tape (Teflon tape) around the shower arm threads to ensure a tight seal. Then, attach the shower head and use an adjustable wrench to tighten it clockwise.
5. Test for Leaks
After you’ve reassembled the shower head, it’s crucial to test for leaks before fully restoring the water supply. Follow these steps:
Step 1: Turn On the Water
Slowly turn on the water supply and check for any signs of leakage around the shower head.
Step 2: Tighten if Necessary
If you notice any leaks, use an adjustable wrench to tighten the connections further. Be careful not to overtighten, as this could damage the components.
Step 3: Repeat the Test
Turn the water off and on a few times to ensure the leak has been resolved completely. Check for any dripping or unusual water flow.
Conclusion
Fixing a leaking shower head is a relatively simple task that you can accomplish on your own with the right tools and a little know-how. By following the step-by-step guide outlined above, you’ll be able to address the issue promptly and prevent further water wastage. Remember to gather the necessary tools, disassemble the shower head, inspect for damage, clean the components, replace faulty parts, and test for leaks. With these actions, you’ll soon enjoy a leak-free showering experience.
FAQs
- Q: How do I know if my shower head is leaking? A: A leaking shower head is often indicated by constant dripping or a visible stream of water when the shower is turned off.
- Q: Can I use regular tape instead of pipe thread tape? A: It’s recommended to use pipe thread tape (Teflon tape) specifically designed for plumbing applications, as it provides a better seal.
- Q: How often should I replace the washer in my shower head? A: The frequency of washer replacement depends on the usage and quality of the washer. If you notice leaks, it’s a good time to check and replace the washer if needed.
- Q: What should I do if I can’t stop the leak on my own? A: If you’re unable to fix the leaking shower head on your own or the problem persists, it’s advisable to seek assistance from a professional plumber.
- Q: Are there any preventive measures to avoid shower head leaks? A: To prevent shower head leaks, ensure that the connections are tightened properly during installation and regularly clean your shower head to remove mineral deposits.


